As world travellers, there are many diverse skills that we must all develop and refine in order to survive. These skills or arts even, include the art of blagging lifts across entire countries from total strangers. They include the art of driving impossible room rate bargains with unwilling guest house proprietors, and of course, the art of holding in ones poo for heroic lengths of time once the single squat toilet on the Indian train overflows.
But of all the skills a traveller must acquire, perhaps none has proven quite so elusive as the dark art of correctly packing ones backpack.
Indeed, effective packing can make or break an entire trip. It is the difference between having everything you need and not having it, between being able to find things in a hurry and not being, and between keeping packed valuables safe and valuables being at risk. Perhaps above all though, proper packing even makes the very difference between been able to carry your backpack, or not been able to carry it.
Today we are sharing the sum total of our collective experience with you our dear readers. Welcome our to epic How To Pack a Backpack For Travelling Guide!
Choose Your Stuff Carefully
The Broke Backpacker is supported by you. Clicking through our links may earn us a small affiliate commission, and that's what allows us to keep producing free content 🙂 Learn more.
Before we can even think about how to pack a backpack for travel, we need to carefully examine what exactly we are intending to pack into it. Whether you’re looking at doing some one bag travel or taking a few different packs, you need to think long and hard.
Now, this is an exercise which you should take your time over and do in a relaxed frame of mind. Therefore feel free to pour yourself a glass of wine, get the tunes on, and even burn some incense.
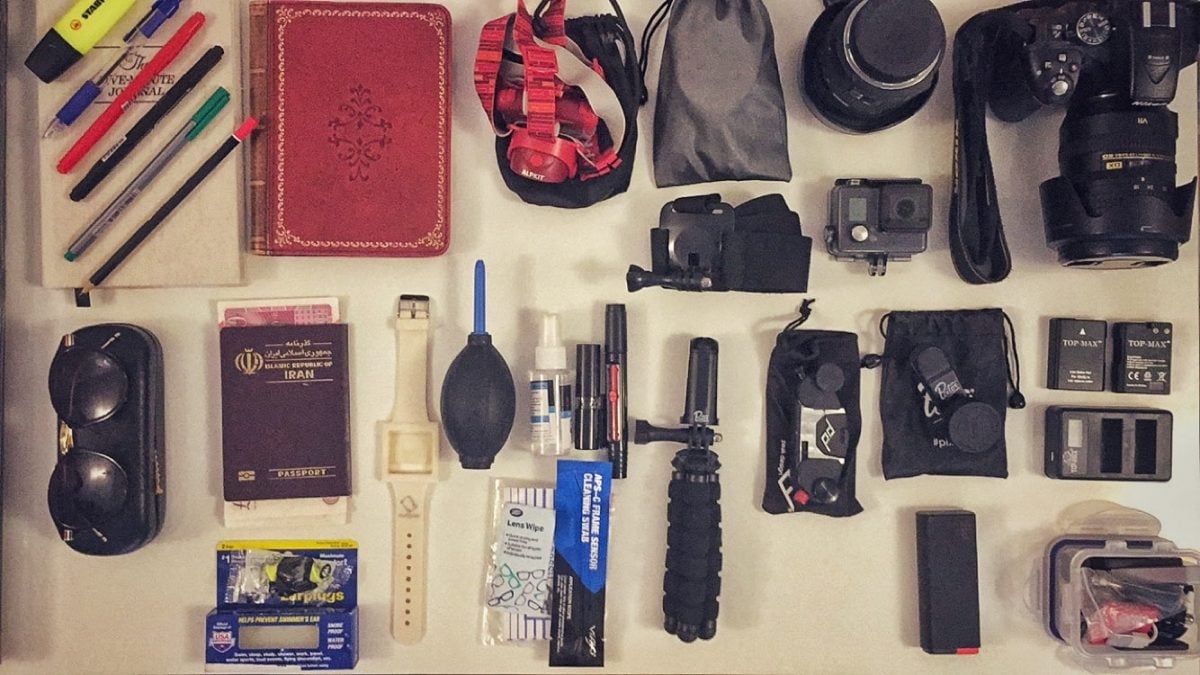
To start, find an empty room with either a decent amount of clear floor space or a double bed (ideally one with nobody trying to sleep in it) and then lay out every single item that you are even thinking about taking. This includes travel documents, clothes, shoes, toiletries, electronics, first aid kits and skipping ropes – I repeat, if you’re considering bringing it, get it out!
At this point, you should have a big, sprawling ungodly mess of worldly goods and consumer items, which will incidentally serve as a pretty concise snap-shot of who you are and what your life is about. What we now do is identify all the items which you are going to take as carry on such as passports, laptops, a book to read, dynamite, and whatever else you want to take into the airplane cabin with you. Put these items to one side.
Always Try To Pack Light
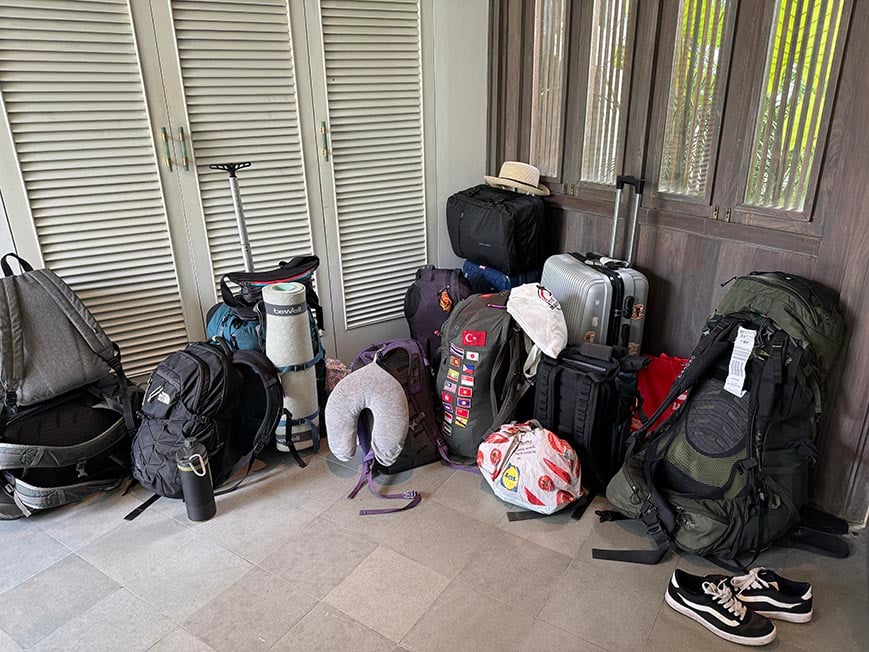
Image: Nic Hilditch-Short
From the remaining pile, it’s time to weed out every last bit of excess. For example, 2 pairs of shoes is usually more than enough for any trip. For my upcoming 2 month Goa/Bali trip I am bringing Converse All Stars for both day to day and dressed up wear, and my running trainers for running, and trekking. As you will presumably already be wearing one pair of shoes to catch to your flight, you only need to pack 1 into your backpack.
Any “nice to have” items such as a formal shirt, high heels or the collected world of Leo Tolstoy should be purged and removed from the pile. If there is any room left at the end, we can always bring them back.
In order to help you assess how much stuff you need, check out this epic backpacking packing list. As a rule though, one weeks worth of clothes is more than enough. Do bring some nice items for “best” wear, but try to keep them as versatile as possible – for example, short sleeved, nicely made Hawaiian shirts look equally ridiculous both for cocktails and on the beach alike so they’re a win/win! Ladies, note that hippy chic and trance wear is purpose made for travellers as it’s easy to dress up and dress down so can also be worn on the beach or at the/da club.
If you already have experience of backpacking then you will probably have learned that less is more and this pile of “prospective items” will be more or less ready to go minus a final edit. For beginners and first timers though, it is quite likely that your short list is ridiculously excessive. A rule some find useful is to try and cut your pile by 50% – yep, first timers have a tendency to try and bring twice as much stuff as they actually need!
How To Pack a Backpack With Clothes
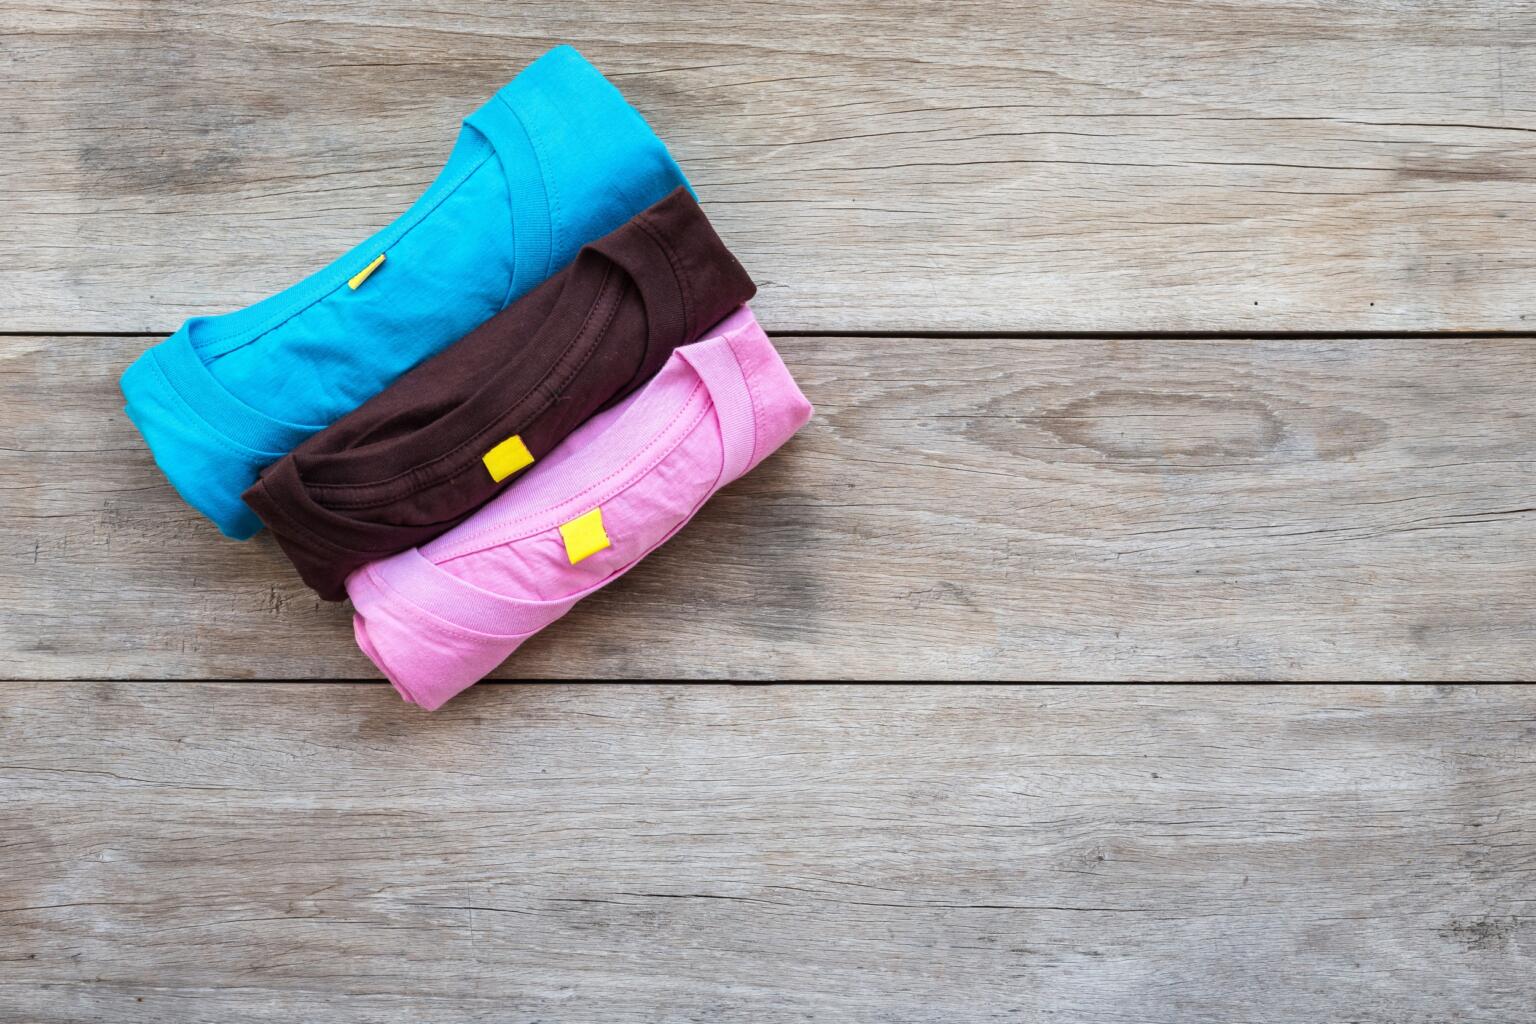
How to pack a backpack with clothes? Well we will tell you. Now that the boring prep work is out of the way, we can begin the real magic – rolling things up!
In order to maximise space, roll up as many of your clothes as you can. Roll up those socks, those underpants, those trousers and those t-shirts. In case you have never rolled up a T-shirt before the process is simple;
- Fold the arms in so it takes on a rectangular shape
- Fold it in half across the middle and then fold in half again
- You will now have a long, thin rectangle
- Turn it round and roll tightly from one end to the other
- Done!
Be sure to put as many rolled items inside of your shoes as you can, as this saves even more room. Shoes themselves however should not be rolled up…
Of course, most of you already know these tried and trusted techniques for packing a backpack with clothes. But… for the benefit of the 8% of you who don’t, here it is! Deepest apologies if I am teaching you how to suck eggs, but nobody gets left behind here (by the way, in case do not know how so suck eggs, then be sure to check out our epic Egg Sucking Guide!)

Do You Want to Travel FOREVER??
Pop your email in below to get a FREE copy of ‘How to Travel the World on $10 a Day!’.
Use Packing Cubes
And that’s all the minimising and culling we can do. Unless of course, by the time you read this, somebody has invented a shrinking machine, in which case this entire post will possibly be obsolete.
So from now on, the focus of this guide is on compartmentalisation and sub-categorisation.
And one of the smartest things you can do here, is to use packing cubes.
What Are Packing Cubes?
Packing cubes are zippered fabric containers generally made into a rectangular, “cube” shapes, purpose built to help you organise your stuff! They come in a myriad of different sizes (and sometimes shapes) and are usually sold in sets.
How To Use Packing Cubes
If you’ve never used Packing cubes before, I’m going to let you in on a little secret. They are a magnificent invention and a true game changer when it comes to how to pack a travel backpack. However, you may be wondering exactly how to pack with packing cubes.
You can use packing cubes to organise all manner of gear and they help you to sort and organise items together logically. For example, you could have a cube for socks, another for t-shirts and then one for electronics.
Packing cubes are great for many reasons. As well as making packing that little bit easier, they make unpacking a whole lot easier. For example, if you are looking for a particular t-shirt then you know it’s in the t-shirt cube (as long as you packed it properly).
Packing cubes can seem expensive at first flush – especially if you have just paid out $000 for a backpack and another $0000 for a one way ticket to Paradise. That said, we’ve found that good quality cubes last many years and they really are worth it to save space, and keep your luggage organised.
Choosing The Right Packing Cubes
There are a lot of different packing cubes out there. They do come in different sizes and sometimes different shapes, but the biggest difference between them is material, build and quality.
After working our way through countless different packing cubes, we strongly recommend this set of 3 compression packing cubes from Nomatic. Nomatic are fast establishing themselves as a leader in making top class travel gear and their cubes can help maximise storage space by 50%!
If you do decide to use packing cubes, put your belongings into the packing cubes and stop there for now. Don’t try to put the packing cubes into your actual backpack just yet.
Oh, and with all this cube stuff going on, do feel free to give the Tetris theme music a quick play. Your glass of wine may also be empty by this point so do feel free to replenish it.
Get a Toiletry Bag
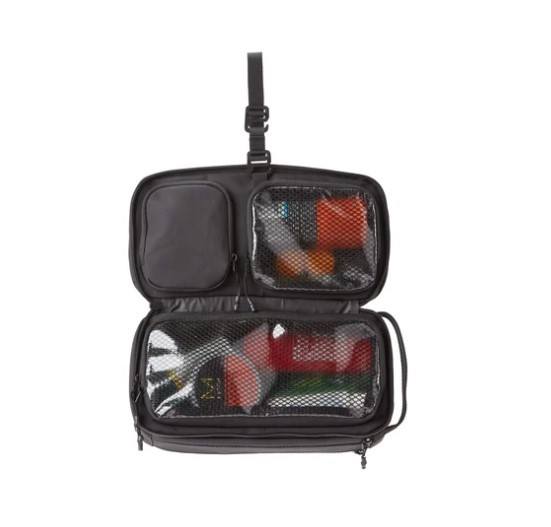
Packing cubes are very handy and will make your life on the road so much easier. They are however, definitely not “essential”. What absolutely is essential though, is a toiletry bag so do not leave home without one!
In case you don’t know, a toiletry bag is a small(ish) bag used to house the hygiene, beauty and health products which you need when you travel. Typically, the toiletry bag will hold a toothbrush and paste, some soap or body wash, shampoo, hair styling products and maybe some feminine hygiene products. Some have extra zippered pouches on both the inside and outside which are great for storing things like paracetamol, condoms and rehydration sachets.
Ideally you should get a hanging toiletry bag one which you can hang from your bathroom mirror or hostel bed wherever you go. It is worth spending a bit of money on this as it will get twice daily use so please remember the old adage, “buy cheap, buy twice”. The last thing you want is for the zip to break or the cloth to tear because of water damage.
Note that if you are struggling to zip your toiletry bag closed, you’ve probably packed too much stuff. This means excess weight and also puts some undue strain on the toiletry bag which may result in damage. So if this is you, then go through it and have a wee purge – do you really need that coconut scented hair conditioner and bottle of Hugo Boss aftershave?
Which Is The Best Toiletry Bag?
There are loads of toiletry bags out there and choosing between them can be overwhelming. Most of them are very similar and the only meaningful differences are in the materials and build which ultimately impacts its lifespan.
Over the years, we have gone through loads of different toiletry bags and are proud to recommend the Toiletry Bag by Nomatic. It’s made from high-quality, water-resistant polyester to handle the roughest of travels. It has 4 sections to help you better organize your travel essentials.
Get a Laundry Bag

Another great addition to your collection of bags within a bag is a laundry bag. These are great for keeping dirty items in and are easy to discreetly hand over to washer ladies. A word from the wise (or embittered) though, don’t buy a laundry bag that is too nice or you risk some unscrupulous swine swapping it for their own vastly inferior wash bag (yep, that actually happened to me).
You could simply use a packing cube for this function. However, note that it will sometimes hold very dirty clothes and you may also sometimes have to put wet clothes into it. This is why I prefer to use a purpose built washable, waterproof, fully sealable mesh laundry bag.
How To Pack a Backpack For Travel
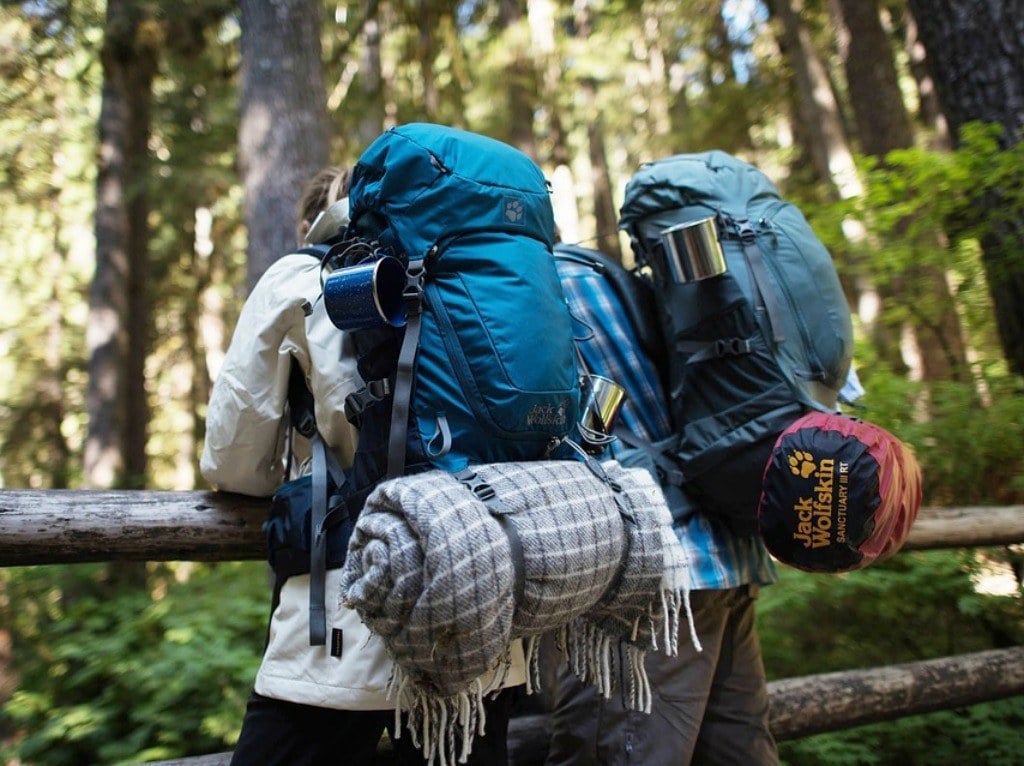
This is what we’ve waited for, this is it boys, this is war and it is now time to actually pack that backpack! By the end of this exercise, you’re going to be a certified expert on how to pack a rucksack for travelling and your backpack is going to be filled up with your worldly treasures, ready to rock and roll.
Let’s start…
- Pack From The Bottom
When packing, you should always start from the bottom up and from the inside out. If you are packing a sleeping bag, then put this in first. Depending on which backpack you use for travel, it may even have a dedicated sleeping bag section located at the very bottom of the back which opens independently with a cross zip and rope tie. These sleeping bag compartments are ideal for easily accessing sleeping bags – you can get it out each night and pop it back each morning without unpacking your entire bag.
If your backpack does not have one of these compartments, then it’s probably a smalish bag. Are you sure you have the right sized bag for your trip?
If you are not taking a sleeping bag, then you can use the lower compartment for other things. Maybe pop a pair of shoes in there or perhaps wedge your rain-coat or kagool in? Whatever, you’re the boss!
- Pack To The Corners
Utilise every gap you see and pack right to the corners. If there is a bit of space next to your sleeping bag or something, then get something stuffed in there; socks, t-shirts or towels are perfect for this type of task. Remember that your belongings don’t have feelings and they don’t need their personal space for the long journey (incidentally this is exactly how Ryanair view you).
By the way, my girlfriend is always getting on my case for wasting valuable corners of space in my backpack. The reason I do it is because I know that if I save space in my bag she’ll only make me carry more and more stuff for her.
- Leave Essentials Near To The Top
If there is anything essential or anything you might hastily need to get out of your bag, then try to leave it near the top so that you can easily and readily access it. As I said earlier, anything immediately essential such as passports should be kept about your person and not packed away into your backpack. But what I mean here is things like a travel rain jacket/kagool or a sarong you may wish to whip out and use a blanket for an overnight train journey.
When I set off for India next week, I know that I will want to change from my UK winter clothes to my Goa clothes immediately as soon as I arrive (because a 5 hour bus Goan ride dressed in jeans and a jumper would probably kill me). So, I will be sure to leave a pair of shorts and a summer shirt near the top of my bag so I can quickly change right at the airport.
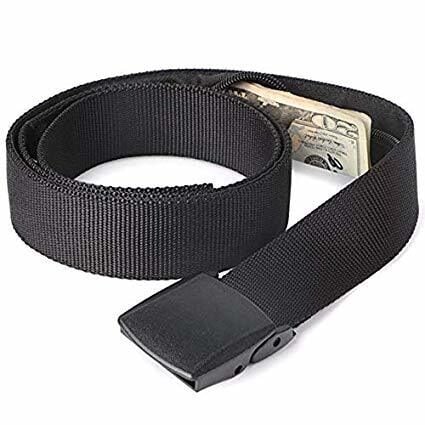
Stash your cash safely with this money belt. It will keep your valuables safely concealed, no matter where you go.
It looks exactly like a normal belt except for a SECRET interior pocket perfectly designed to hide a wad of cash, a passport photocopy or anything else you may wish to hide. Never get caught with your pants down again! (Unless you want to…)
Hide Yo’ Money!- Pack Heavy Things Near The Middle
Now we turn to the middle and this is where the benefits of our experience truly comes into fruition. Try your best to put any heavy items in the middle area, this doesn’t need to be exact but aim for the general mid-area.
This is because this is where you will carry most of the weight. Putting the heavy items here will make your backpack feel a lot lighter and it will be easier to carry.
Heavy items include things like hiking boots, camera’s, Lonely Planet tomes, and maybe that toiletry bag your overstuffed with bryl-cream.
Ideally, you should never put your heavy stuff near the top. This will make the backpack feel heavier and it will also pull back away you from making it pretty awkward to pick up and carry.
- Pockets And Straps
You may have noticed that your backpack has a few straps and pockets.
The hip pockets are primarily intended for things you may need to access when carrying it such as a lighter, a Swiss army knife or a buff. However, you can also cram a t-shirt or a vest in there if you need to do so. I keep an inflatable pillow in mine purely because it fits so well.
The straps are great for attachming things like tents, roll mats and yoga mats. Do make sure you attach them nice and tight especially if you are going to be checking the backpack in for a flight.
Don’t Over Pack
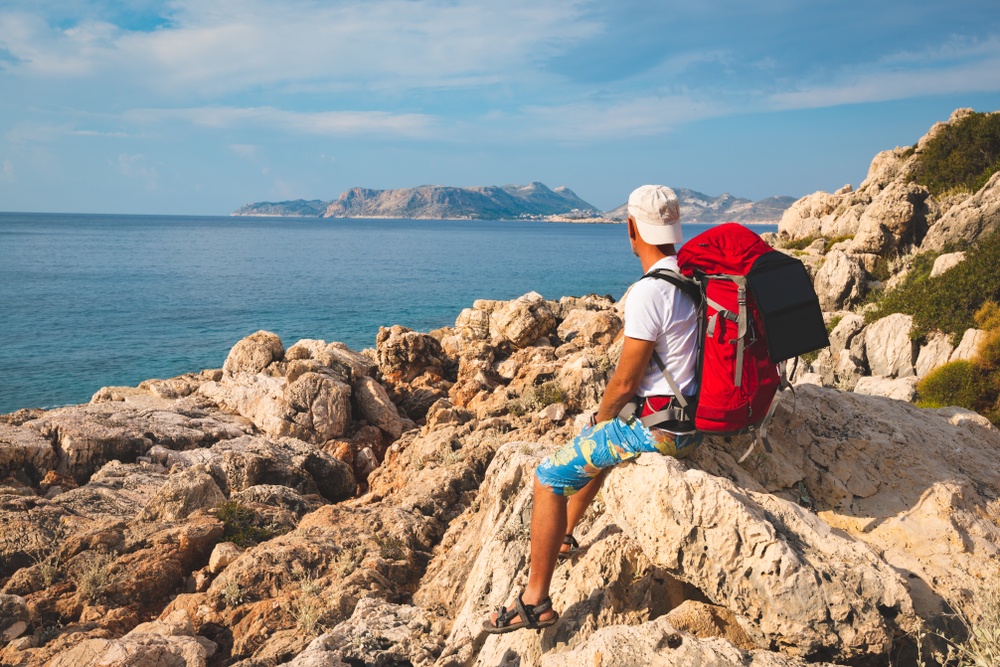
So how does the backpack feel and look? Ideally you should be able to comfortably lift it and walk with it for at least short distances. Ideally, it should not be too heavy to lift and carry, and it should not look overstuffed like it is full to the point of bursting.
If it full to bursting point then you run the risk of putting strain on the backpack and it eventually, erm, bursting. If this happens out on the road it it is a total fucking disaster.
Furthermore, you should also leave some left over space because you will most probably accrue more stuff on your journey. Even if your a minimalist and a tightwad, you will still most probably want to pick up some kind of souvenir. When I look back at my time in Nepal I wish to God (and the many Hindu Gods) that I had brought back more art and handicrafts but unfortunately my backpack was full.
You may also need to leave a bit of room so you can carry home that 10kg white-powder brick that the nice men in Colombia asked you to pass to their cousin once you get to London.
As well as souvenirs, you will also probably want to buy some new clothes at some point when you realise that the person who left home is no longer the person you are now and so you don’t feel comfortable wearing their western, “straight person” clothes. I’m been serious, this does happen.

Our GREATEST Travel Secrets…
Pop your email here & get the original Broke Backpacker Bible for FREE.
Top Tips For Packing a Backpack For a Trip
- Do a Dummy Run
One big piece of advice we will offer you is to practice packing and unpacking your bag and do a dummy run at least a week before your first trip. There are a number of benefits to doing these dummy runs;
- You get adept at packing and unpacking n a hurry. Something you will need to do a lot on the road.
- You can identify anything that you forget to buy (such as that toiletry bag we mentioned!)
- If you leave it to the last minute, you risk panicking and forgetting something.
So make sure you do that dummy run!
- Bring Duct Tape
For a full packing list, check out this post. However, one thing I will recommended here is to pack some duct tape. Duct tape has many uses, it can be used to patch up rips & tears and hold bits of your backpack together in the unfortunate event it begins to come apart. Keep it in a side pocket or in the top lid so you can retrieve it quickly when it’s needed.
- Bring Padlocks
There will be times when your backpack is out of your site and vulnerable to would be thieves. You can try to countenance this by locking the zips together using a padlock or padlocks. Note that not all backpack zips will allow you to do this but it can still be worth attaching a padlock so at least it kind of looks like your bag is locked at a first, casual glance!
- Get a Bike Lock
As well as padlocks, a bike lock is great for your backpacks security. Bike locks can be used for attaching your backpack to your hostel bed or to the overhead luggage rack on busses and trains. They can also be used for securing bikes, if you have a bike.
- Get Insurance
In case your backpack or the contents get damaged or stolen, why not obtain Insurance? We’ve put together a roundup of the best travel insurance for backpackers – check it out here, or if you’re low on time, get a quote from World Nomads, our favorite travel insurance provider.
ALWAYS sort out your backpacker insurance before your trip. There’s plenty to choose from in that department, but a good place to start is Safety Wing.
They offer month-to-month payments, no lock-in contracts, and require absolutely no itineraries: that’s the exact kind of insurance long-term travellers and digital nomads need.
SafetyWing is cheap, easy, and admin-free: just sign up lickety-split so you can get back to it!
Click the button below to learn more about SafetyWing’s setup or read our insider review for the full tasty scoop.
Final Thoughts On How To Pack a Backpack for Travel
I hope you found that very helpful. Now you are fully equipped with my tips and tricks on how to pack a rucksack for travelling, it’s over to you fellow globe trotter.
Buy Us a Coffee!
A couple of you lovely readers suggested we set up a tip jar for direct support as an alternative to booking through our links. So we created one!
You can now buy The Broke Backpacker a coffee. If you like and use our content to plan your trips, it’s a much appreciated way to show appreciation 🙂


